In this article, I would like to make a step by step walk through of creating Content Type Hub in SharePoint 2013. Topics I would like to cover in this blog are:
- What is a Content Type?
- What Content Type takes with/includes in it?
- What is Content Type Syndication?
- What is Content Type Hub?
- How to set up Content Type Hub in your Farm?

What is a Content Type?
According to Microsoft, A content type is a reusable collection of
metadata (columns), workflow, behaviour, and other settings for a
category of items or documents in a Microsoft SharePoint Foundation 2010
list or document library. Content types enable you to manage the
settings for a category of information in a centralized, reusable way.
For example, imagine a business situation in which you have three
different types of documents: expense reports, purchase orders, and
invoices. All three types of documents have some characteristics in
common; for one thing, they are all financial documents and contain data
with values in currency. Yet each type of document has its own data
requirements, its own document template, and its own workflow. One
solution to this business problem is to create four content types. The
first content type, Financial Document, could encapsulate data
requirements that are common to all financial documents in the
organization. The remaining three, Expense Report, Purchase Order, and
Invoice, could inherit common elements from Financial Document. In
addition, they could define characteristics that are unique to each
type, such as a particular set of metadata, a document template to be
used in creating a new item, and a specific workflow for processing an
item.
What a content type includes in it?
Content Type in SharePoint includes following details with it:

- The metadata, or properties, you want to assign to this type. These are represented by site columns added to the list or document library when you add the content type. For more information, see Columns.
- Custom New, Edit, and Display forms to use with this content type. For more information, see Custom Information in Content Types.
- Workflows available for items of this content type. These can be defined to start automatically based on a selected event or condition, or through user selection. For more information, see the Workflow Associations property.
- For document content types, the document template on which to base documents of this type. For more information, see Document Template Element (Content Type).
- Any information necessary for custom solutions that are associated with this content type. You can store this information in the content type as one or more XML documents. For more information, see Custom Information in Content Types.
What is Content Type Syndication?
It is new feature that is part of the Managed Metadata service in
SharePoint 2010. It solves a long-standing problem from SharePoint 2007,
which is how do I create an enterprise library of content types and
synchronize them amongst many different site collections. We often had
to design and build solutions to work around this issue in SharePoint
2007, but now we have something that we can use out of the box.
In moss 2007, you have a Site Collection in Web Application1 and you have created a series of content types to use. Now, you create Web Application2 and find the necessity to reuse the content types created in Web Application 1. There is no way you could share or reference those content types created in Web Application1 in Web Application2. The only way possible is to create or write an application which would install those content types. This situation is pretty common in large organizations. This can be even considered for exposing base content types you use across multiple web applications in the farm.
What is Content Type Hub?
SharePoint 2010 introduced a new feature called Content Type Hubs
to solve it. Content Type Hub is a central location where you can manage
and publish your content types – so now web applications can subscribe
to this hub and pull down the published content types from the hub. Even
receive updates on the published content types. Don’t you think it is
of great value? Same feature continues to be in SharePoint 2013.
Provisioning a site to be Enterprise Metadata hub site for your Farm:
Given is the step by steps approach to provisioning a site for CTH. Just follow the steps and you are done.
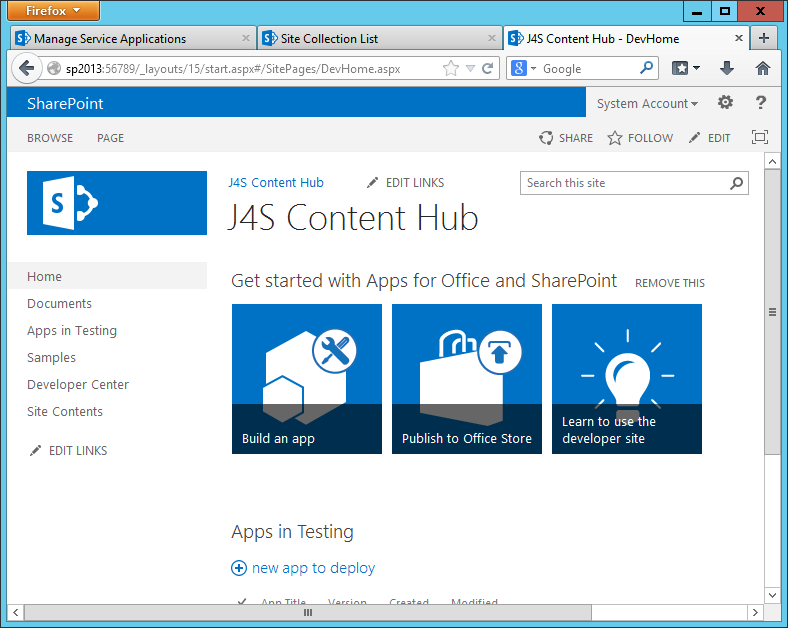
1. Create a web application and a root site collection.

2. Create a new root site collection for the new web application. I choose developer site template. I think we can go for any templates available.
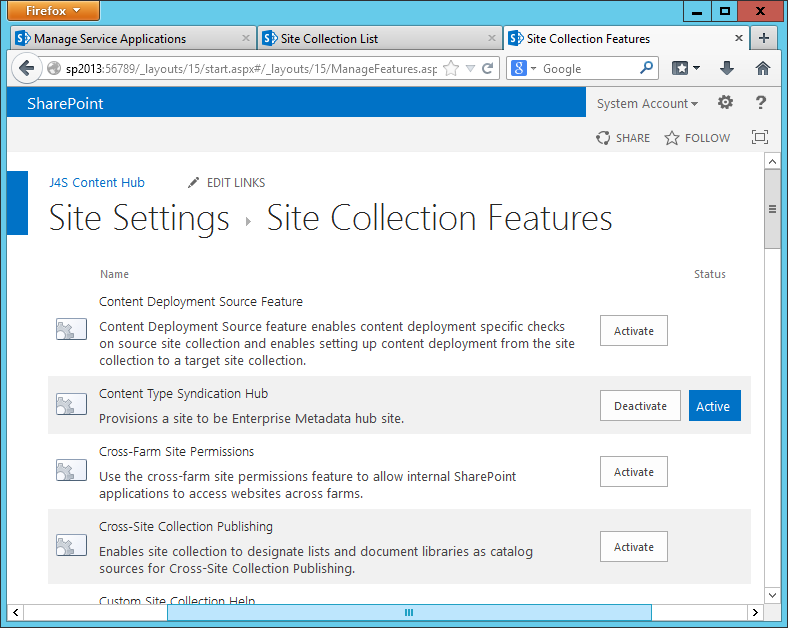
3. Activate the “Content type syndication Hub” of the site collection. Go to Site Settings -> Site Collection Features

4. Activate Content type syndication hub site collection feature. What is being done is provisioning a site to be Enterprise Metadata hub site.
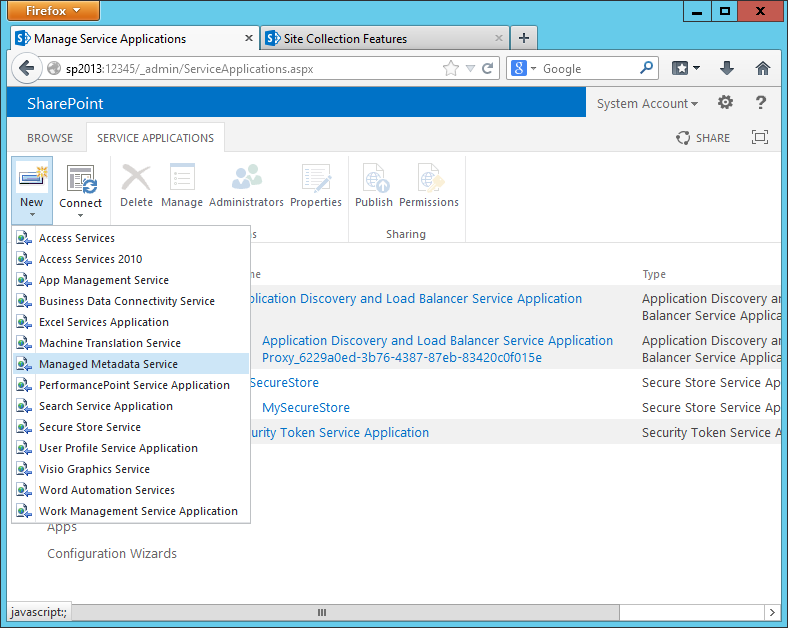
5. Setting up Managed metadata service in Manage Service Applications from Central Administration.
5.1. Go to Central Administration, click the Application
Management, under Service Applications, and click the Manage Service
Applications. In my case link was http://sp2013:xxxx/applications.aspx

5.2. Creating a new Managed Metadata Service using ribbon button.
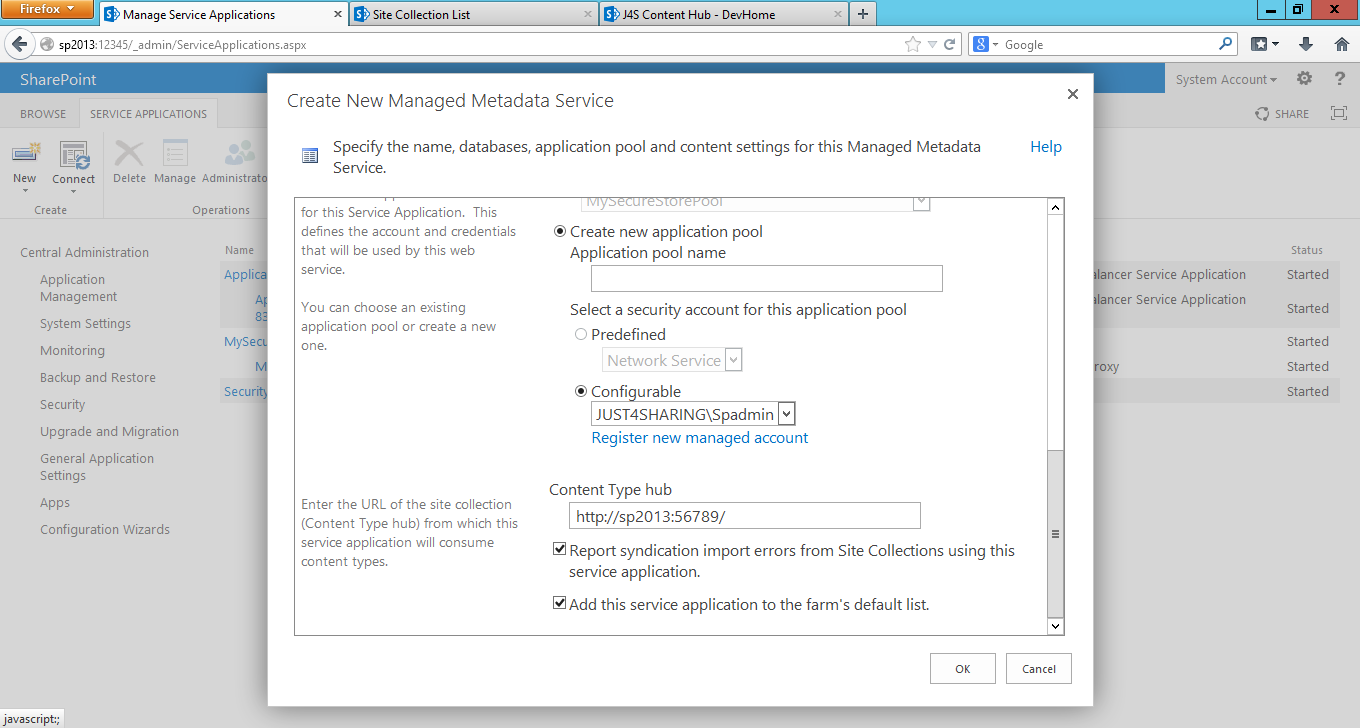
5.3. Adding required field values in the service creation dialogue

5.4. Entering Content Type Hub URL
5.5. New Managed metadata service and its connection are ready

5.6. Click on the Managed Metadata service. Make sure there is not error. I met with an error when I clicked. Solve the issues and go ahead. The error, I encountered is given below
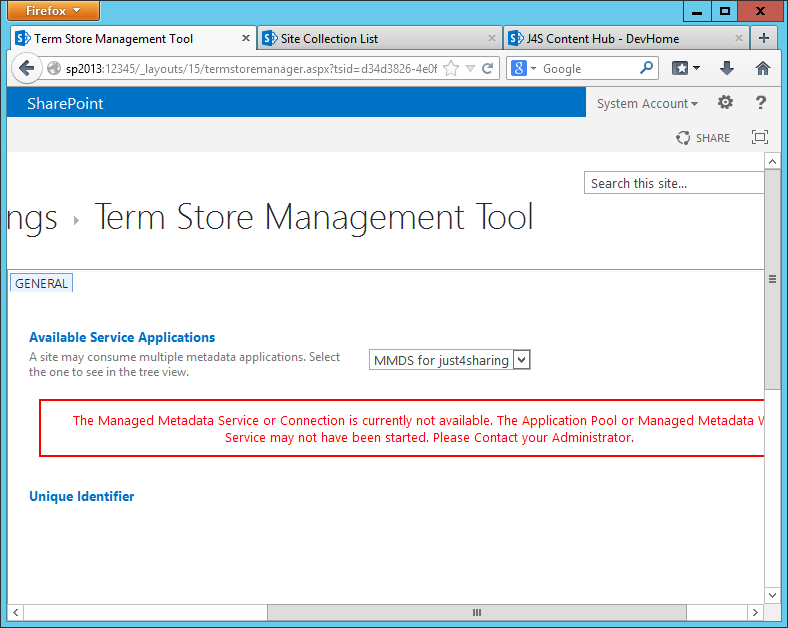
This blog helped me to solve my issue. Hope this might help you as well.
5.7 Check if Metadata service is started or not
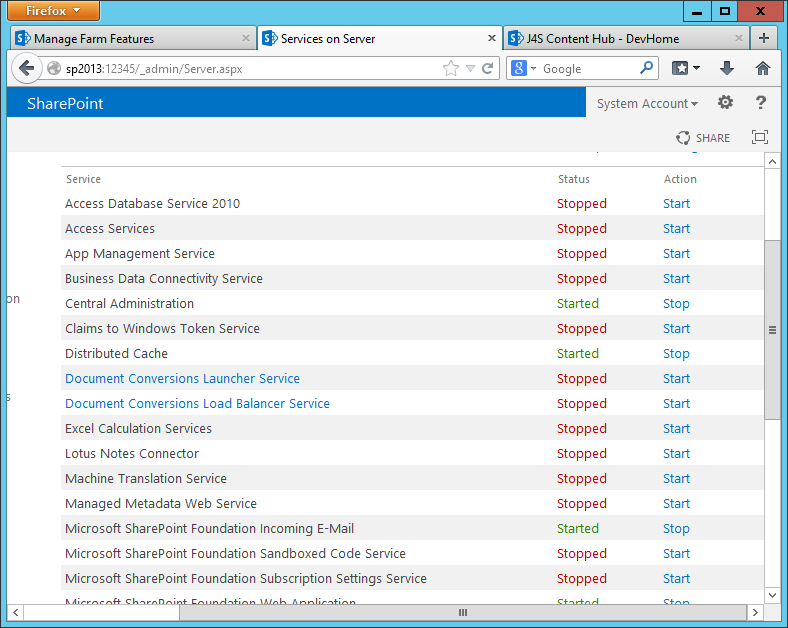
5.8 If not running, start it

5.9. Verify the properties of the Managed metadata service are
entered properly especially Content Type Hub URL. Also tick the box
below as shown in figure and Click OK.

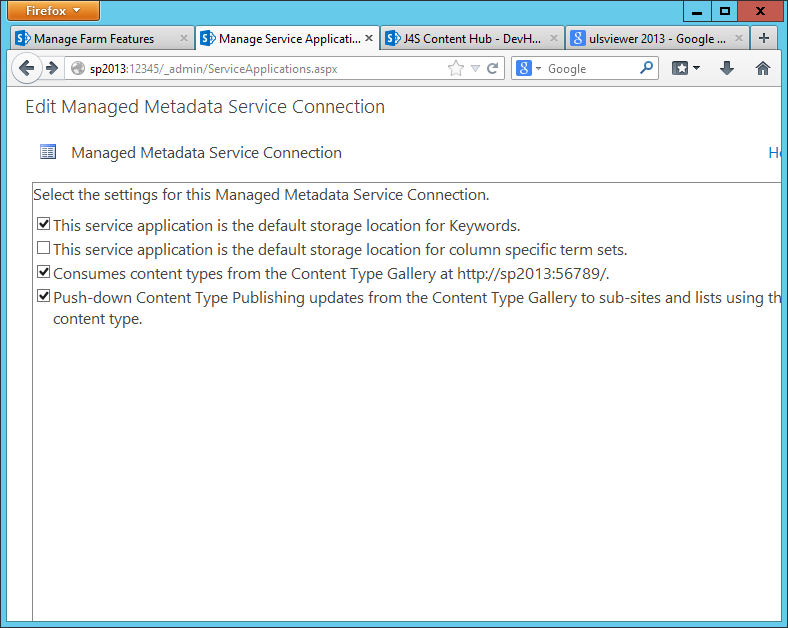
5.10 Now select the Managed Metadata Service Connection, and then click Properties as shown below. What is important is “consume content type from the content type gallery”
6) Now, go to our content type hub site [which created in first step], Go to Site Actions and then Site Settings. Under Galleries click on Site Content Types, you will find default Content Type Available.

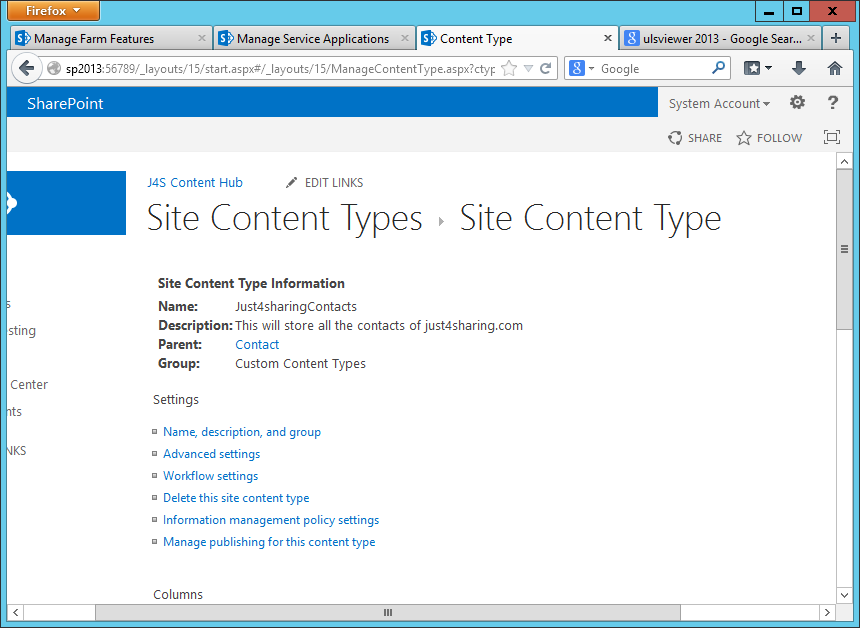
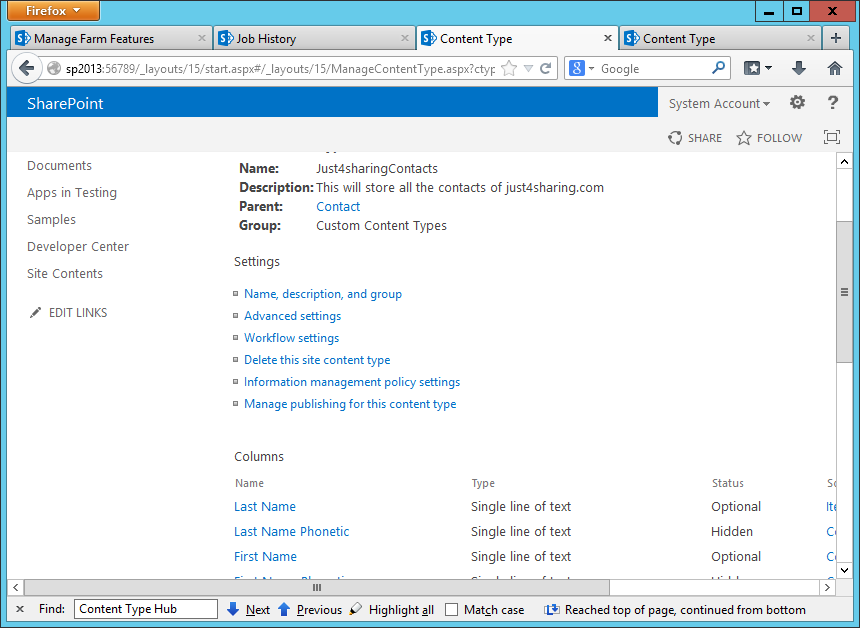
8) Create a new content type so that we get a clear picture of what is happening

9. Click on the new content type and you can see all the new fields added and any other options attached to the content type.
10) Click the Manage content type publishing and Check the Publish Radio button and say OK.
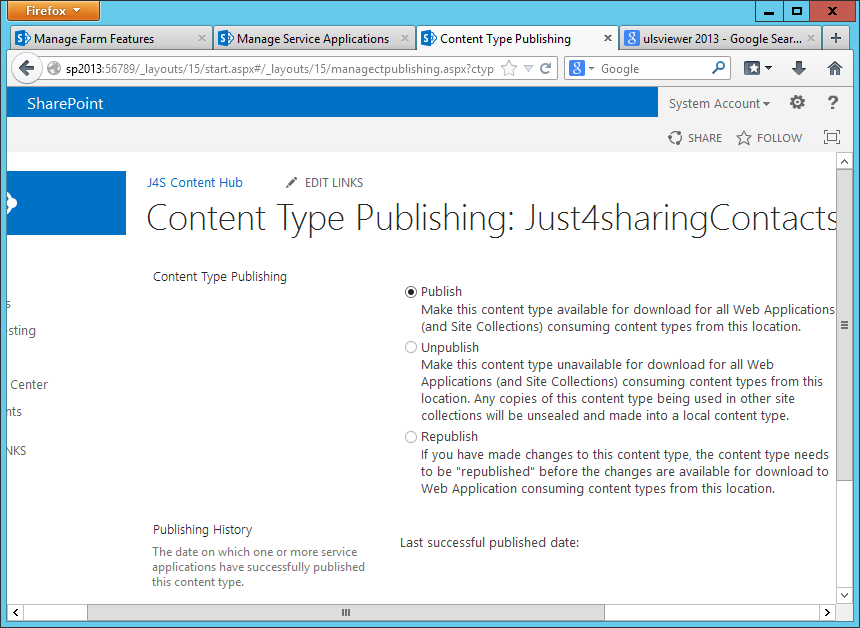
11) This will publish the content types
In order to receive the published content types immediately in the subscribers, you can go and run two timer jobs immediately: Go to Central Admin and run the timer jobs
11. 1) Content Type Hub

11.2) Content Type Subscriber (of the web application which is going to receive the content type’s updates)

11.3) Verify the time job status in the Central Admin

12. Published Content Types
After running the timer jobs, the content types should be
published. Go to Site Settings | Site Collection Administration |
Content Type Publishing. Check the Refresh all Published Content types
on next update and say OK.

13. To verify the published Content Types
13.1 Create a Site collection of same or different Web Application
13.2 Go to the Site Actions -> Site Settings. Under the Galleries click the Site Content Types you will be finding the Site Content type which we created in above Site Collection.

14. By default, content type in the subscriber site collection is read only.

15. In Content Type Hub site collection you can do all kinds of setting to the content type including the workflow setting, Information policy setting etc.
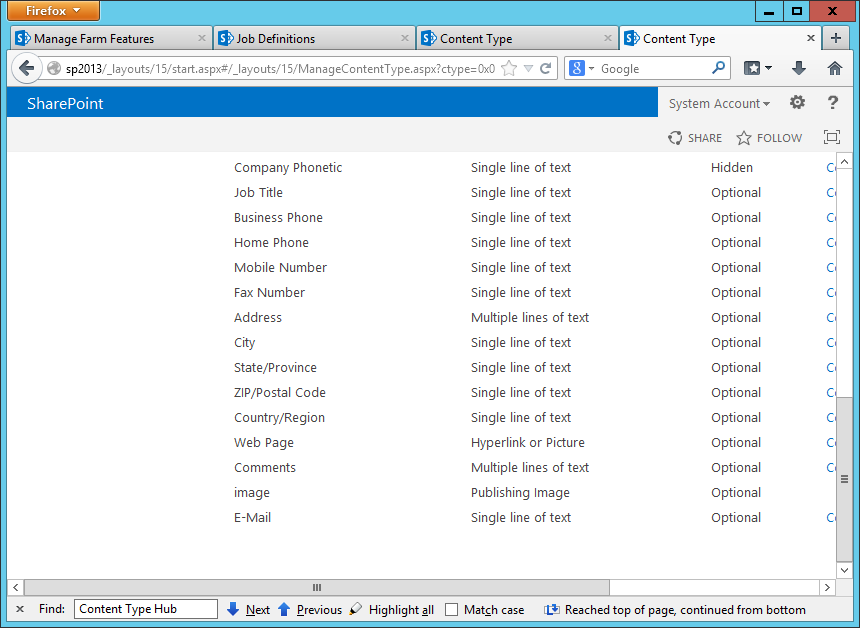
16. Modifying content type in Content Type Hub: Let us modify the content type in the Content Hub by adding a new column. New column “image” is added

17. Republish
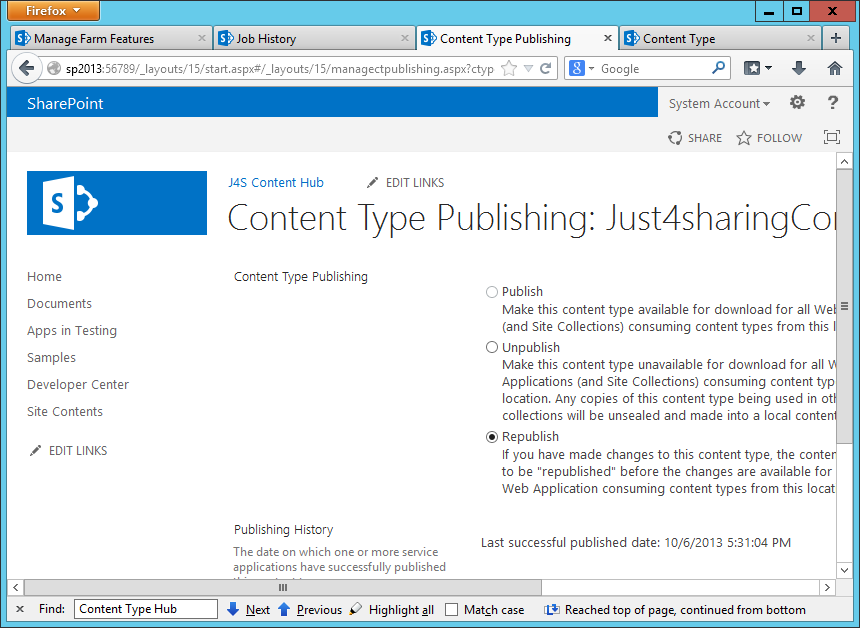
18. New field is available in the subscriber site collection
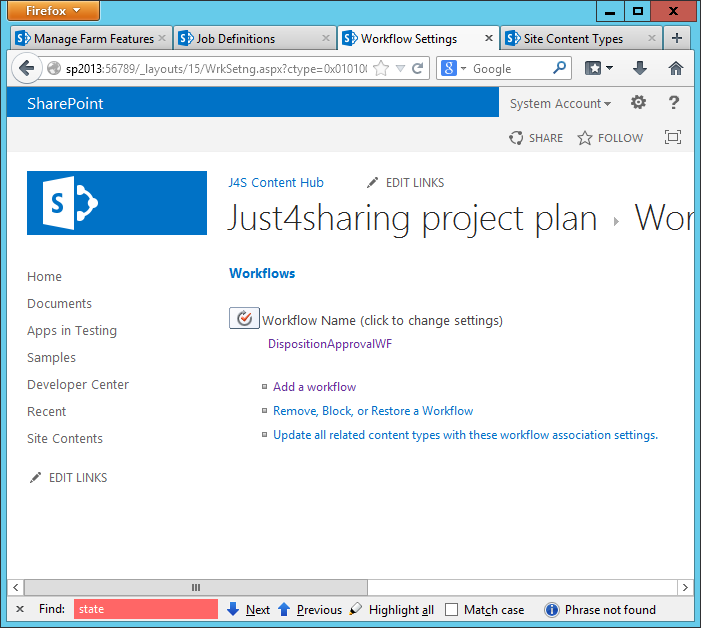
19. Workflow and Content Type Hub: Adding OOT workflow to the content Type Hub works fine. Example, here I am adding a disposition Workflow to the content which is in our discussion

20. Points to remember when you work with Custom workflow and Content Type Hub
Content Type Hub will not copy custom workflows to other Site
Collections. You have to manually copy the workflow to the subscriber
site collections. SharePoint Designer based workflow and also workflow
created from visual studio, they all are working as expected given that I
deployed these workflow to the subscriber site first before publishing
the content type.
21. How you should approach publishing workflow with Content Type Hu
- Create a workflow and associate it with your content type in the hub.
- Before publishing this content type, export the reusable workflow and import it in all the subscriber site collections or deploy your workflow to the farm if it is a farm solution
- Activate your workflow feature
- Now, your workflow is available in the hub as well as all the subscriber site collections.
- Publish the content type. The workflow association will be published.
References:


